Vape Kits
A vape kit is a device sold with everything it needs to work on the day it arrives: the battery or mod, the tank or pod, at least one coil and a charging cable. Buying a kit rather than assembling parts removes the compatibility guesswork that catches out most people building a first setup, and it is almost always cheaper than the same components bought separately.
Kits range from tiny pod systems that behave like a disposable you can refill, up to variable wattage mods with sub ohm tanks. The right one depends far more on the draw style you want and the nicotine strength you need than on power or price. This page works through those decisions in order.
Showing 13 to 21 of 21 results
-
Vape Kits
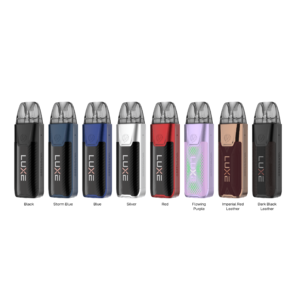
Vaporesso LUXE XR MAX 2 Kit Device Only Canada
$29.99 Select options This product has multiple variants. The options may be chosen on the product page
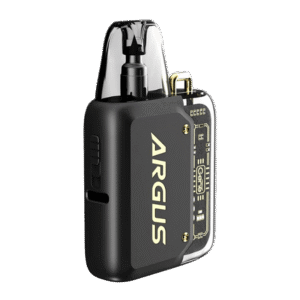

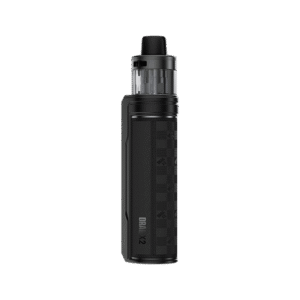
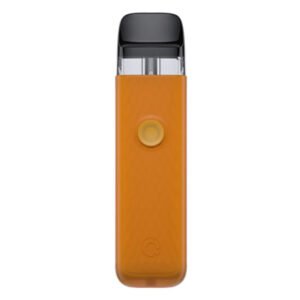

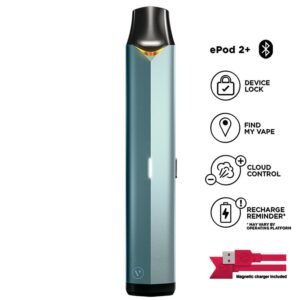
What is in the box
Every kit contains a power source, a liquid holder and at least one coil. The power source is either an integrated battery or a mod that takes removable cells. The liquid holder is a tank that unscrews or a pod that clicks in. The coil is the consumable that does the actual work, and a kit normally includes two so you have a spare.
What is almost never included is liquid. Canadian retail rules restrict how nicotine products are bundled and promoted, so you buy your vape juice separately and choose the strength and ratio that suit the coil in your kit. That is genuinely better than being given a bottle that may be wrong for you.
A USB C cable is standard. A wall plug usually is not, because regulations and shipping weight make it impractical, and any phone charger works. Spare glass for tanks that have it is sometimes included and is worth checking, since glass is the part most likely to break.
Mouth to lung against direct lung
This is the decision that determines everything else, and it is worth getting right before you look at a single product. Mouth to lung means drawing vapour into your mouth first and then inhaling, the way a cigarette works. Direct lung means inhaling straight down in one motion, the way you would take a deep breath.
Mouth to lung wants a tight draw, a higher resistance coil above roughly 1.0 ohm, modest power and higher nicotine. It suits former smokers, it is discreet, and it uses much less liquid. Direct lung wants wide airflow, a sub ohm coil below roughly 0.6 ohm, considerably more power and low nicotine. It produces large clouds and gets through liquid quickly.
Almost everyone leaving cigarettes should start mouth to lung. Choosing a direct lung kit and then filling it with 20 mg salt nicotine is the single most common and most unpleasant setup error we see, because it delivers several times the intended nicotine per puff. Our nicotine strength calculator explains the interaction.
The three tiers of kit
Pod kits are the entry point. Small, light, usually draw activated or single button, with a fixed or narrowly adjustable output. They take refillable vape pods and suit mouth to lung vaping at higher strengths. For most people leaving cigarettes this is the correct first purchase and often the last one.
Mid tier kits add a proper tank with replaceable coils and usually some wattage adjustment. They hold more liquid, last longer between charges and let you tune the experience. They are a sensible second device once you know what you like.
Advanced kits pair a variable wattage vape mods with a sub ohm vape tanks and removable batteries. They offer the most control and the best vapour, and they demand the most understanding, including battery safety. They are not a good first purchase.
| Tier | Typical power | Coil resistance | Nicotine | Liquid use | Best for |
|---|---|---|---|---|---|
| Pod kit | 10 to 20 W | 1.0 ohm and above | 10 to 20 mg salt | Low | First device, ex smokers |
| Mid tier tank kit | 15 to 40 W | 0.6 to 1.2 ohm | 6 to 12 mg | Moderate | Second device, more control |
| Sub ohm kit | 40 to 80 W | 0.6 ohm and below | 3 to 6 mg freebase | High | Experienced, cloud focused |
| Dry herb kit | Not applicable | Not applicable | None | None | See dry herb vaporizers |
Kits compared
The table above is deliberately organised around nicotine rather than price, because that is where mismatches do damage. Read across the row rather than down a column: a sub ohm kit with 20 mg liquid in it is not a powerful setup, it is an uncomfortable one.
Price broadly tracks the tiers but not reliably. A well made pod kit can cost more than a cheap sub ohm mod and be a far better purchase for the person buying it. Buy for the row you belong in.
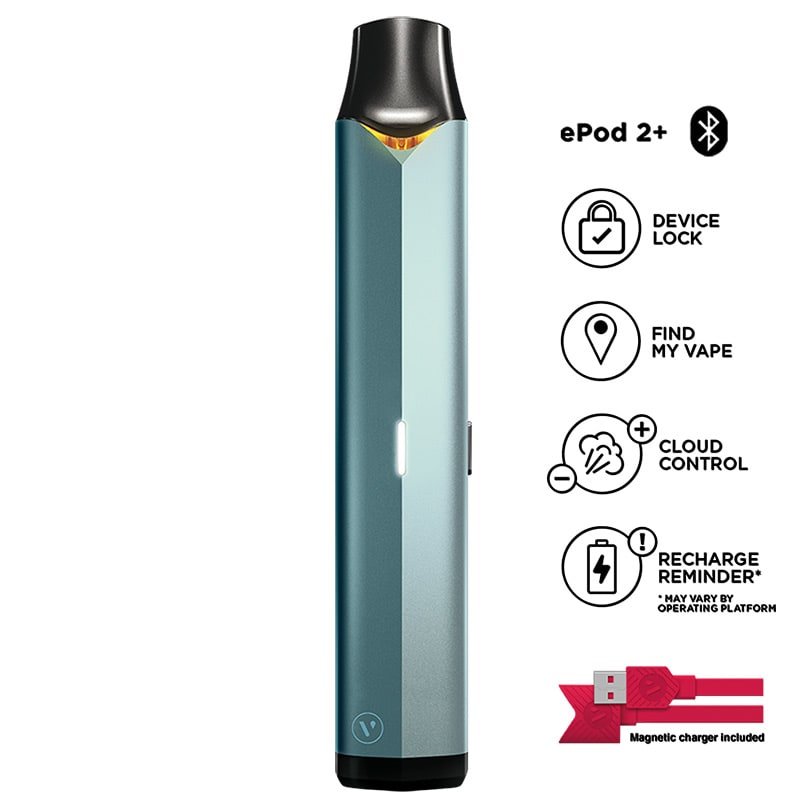
Wattage, and how much you need
Coils carry a recommended wattage range, usually printed on the coil itself. Staying inside it is most of what wattage control is for. Below the range the coil under performs and tastes muted, above it the cotton cannot keep up and scorches.
Higher wattage is not better. It is simply more, and more suits some coils and destroys others. A 1.2 ohm mouth to lung coil at 12 W is doing exactly what it was designed to do, and running it at 30 W will ruin it in minutes. Start at the bottom of the printed range and step up a watt at a time until the flavour is fullest, then stop.
Temperature control, found on some advanced devices, caps the coil temperature rather than the power and genuinely prevents dry hits. It only works with specific coil materials and is more trouble than it is worth for most people.
Your first week with a kit
Prime the coil before the first fill. Put a few drops of liquid directly onto the exposed cotton, assemble, fill, then wait a full ten minutes before the first puff. Firing dry cotton carbonises it permanently, and this is the most common way a brand new kit is ruined on day one.
Expect a settling period. A new coil often tastes slightly off for the first few millilitres and then comes into its own. Expect some condensation in the airway and in the battery well, which is normal and wipes out. Expect to vape more than you think in the first days while you find your strength, then to settle down.
Keep a note of what you changed. If you alter the liquid, the strength and the wattage all at once, you cannot tell which change helped. Our best vape for beginners in Canada guide covers the first fortnight in more depth.
The ongoing costs nobody mentions
The kit price is the smallest part of what you will spend. Coils are the recurring cost people underestimate, typically one every one to two weeks, sooner with sweet liquids. Liquid is the larger line, at roughly 2 mL to 4 mL a day for a moderate vaper.
Then there are the parts that fail occasionally rather than regularly: glass for tanks, seals, batteries in devices that take removable cells. None of these are expensive individually, and all of them are in our replacement coils and batteries and chargers ranges, but budgeting for them stops a kit feeling like a bad purchase six months in.
Even with all of that, refillable kits remain considerably cheaper than a disposable habit at the same consumption. Our vaping versus smoking cost calculator puts real figures on that comparison against what you were spending before.
When to upgrade, and when not to
Upgrade when the device is genuinely limiting you: it will not last a day, it cannot hold enough liquid, or the draw style is wrong for how you actually vape. Those are real problems that better hardware solves.
Do not upgrade because a device tastes worse than it used to. That is a coil, a ratio or a cleaning problem in almost every case, and a new device will develop the same symptom in a fortnight. Our why a vape stops hitting walkthrough covers the diagnosis.
Also do not upgrade towards more power unless you are changing draw style deliberately, with the lower nicotine strength that requires. A more powerful device with your current liquid in it is a worse device, not a better one.
Looking after a kit so it lasts
Kits are mechanical objects with seals, threads and electrical contacts, and a little routine care keeps one working for years rather than months.
Empty and rinse the tank in warm water when you change flavour families, and dry it completely before refilling, or the previous flavour will linger for days. Wipe the 510 connection and the battery contacts every week or two, since liquid creeps into the threading and produces intermittent firing that looks exactly like a failing battery. Check the O rings when you change a coil and replace them when they look flattened or perished, because those seals are what stop leaking.
Store the device upright when you are not using it. Laid on its side overnight, liquid works its way into the airway and the first draw of the morning floods the coil. If you are not going to use a kit for a while, empty the tank rather than leaving liquid sitting against the seals.
Canadian rules and delivery
Retail vaping products in Canada are capped at 20 mg/mL of nicotine under Tobacco and Vaping Products Act, and packaging and promotion are restricted under the same framework. Provinces add their own minimum ages and flavour restrictions, which we keep current in vaping laws by province.
We operate an age gate and ship only inside Canada, with carriers and timings on our shipping and delivery page and our policy on faults and damage on our returns policy page. Devices with lithium cells belong in cabin baggage rather than checked luggage when flying, which Transport Canada lithium battery rules sets out.
If you are switching from smoking, Health Canada quit smoking resources publishes independent guidance that has nothing to sell you, and it is worth reading alongside anything on this page.
Common questions
What is included in a vape kit?
The device, the tank or pod, at least one coil and usually a spare, and a charging cable. Liquid is not included, because Canadian rules restrict bundling nicotine products, and buying it separately lets you match the strength and ratio to the coil.
Should I choose a mouth to lung or direct lung kit?
Mouth to lung if you are leaving cigarettes. It uses a tighter draw, a higher resistance coil and higher nicotine, and it mimics smoking. Direct lung needs a sub ohm coil and much lower nicotine, and filling one with high strength salt nicotine is genuinely unpleasant.
What wattage should I vape at?
Inside the range printed on the coil, starting at the bottom and stepping up until the flavour is fullest. Higher is not better. Running a mouth to lung coil at sub ohm wattages scorches the cotton within minutes.
How often will I need to replace coils?
One to two weeks for most people, and sooner with sweetened dessert or custard liquids, which caramelise onto the coil. Replace on a schedule rather than waiting for a burnt taste, because by then the cotton is already carbonised.
Is a kit cheaper than using disposables?
Considerably, at the same consumption. The device cost is one off and the recurring cost is liquid and coils, which is much lower per millilitre than repurchasing a sealed device every few days. The gap widens the more you vape.
Do I need to prime a new coil?
Yes, and skipping it is the usual way a new kit is ruined on day one. Put a few drops of liquid on the exposed cotton, fill the tank, then wait a full ten minutes before the first puff so the cotton saturates completely.